How to Draw 3D Objects in Paint 3D (Beginner Guide 2026)
Many beginners want to create 3D graphics but feel confused How to Draw 3D Objects in Paint 3D because most 3D design software looks complicated and requires professional skills. Tools used by designers are often difficult to learn and may require powerful computers, which can be intimidating for beginners who are eager to create 3D graphics but lack the necessary technical skills or resources. Because of this, new users struggle to understand how they can start making simple 3D objects without spending hours learning complex programs.
Fortunately, Paint 3D makes the process much easier for beginners. This lightweight tool available in Windows 10 and Windows 11 allows users to create simple 3D objects using built-in features like 3D shapes, 3D doodles, rotation controls, and stickers. By following a few simple steps, anyone can start drawing and designing basic 3D models without needing advanced design experience.
What Is Paint 3D and Why Use It for 3D Drawing?
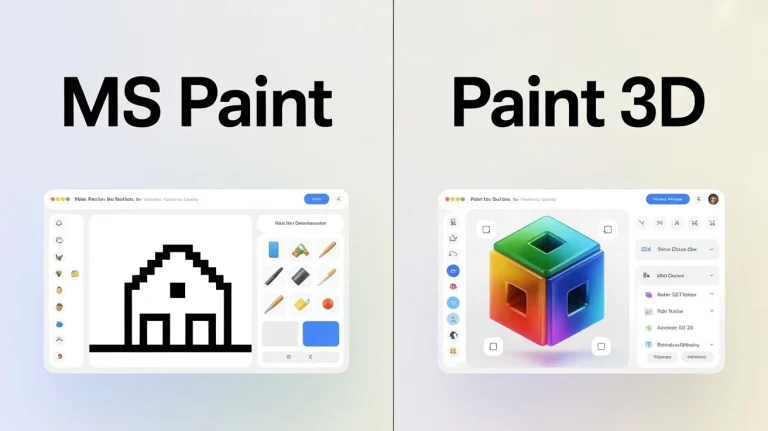
Paint 3D is an upgraded version of the classic Microsoft Paint application. While the original Paint mainly focused on simple 2D drawing and basic image editing, Paint 3D introduced modern tools that allow users to create simple three-dimensional objects and scenes. This upgrade made it possible for beginners to experiment with both 2D graphics and basic 3D design in one easy-to-use program.
One of the biggest advantages of Paint 3D is its simplicity and accessibility. Unlike complex 3D software such as Blender or Maya, Paint 3D uses an easy drag-and-drop interface that beginners can understand quickly. It also runs smoothly on most Windows computers, including low and mid-range systems, and does not require powerful hardware or expensive software subscriptions.
Because of these features, Paint 3D is commonly used for:
- Creating simple 3D illustrations
- Designing school projects and presentations
- Building basic 3D shapes for learning purposes
- Creating logos and simple graphics
- Experimenting with beginner-level 3D design
For anyone new to digital design, learning how to draw 3D objects in Paint 3D is a great starting point.
Understanding the 3D Workspace in Paint 3D
Before draw 3D Objects in Paint 3D, it is important to understand how the Paint 3D workspace functions. The interface is designed to make both 2D and 3D design simple, organized, and beginner-friendly. At the top of the window, you will see several tool categories: brushes, 2D shapes, 3D shapes, stickers, text, effects, and canvas, each serving a specific role in the design process.
The 3D Shapes tab is the most important section when creating 3D models. It contains built-in shapes like cubes, spheres, cylinders, and cones that you can easily add to the workspace and customize by adjusting size, color, texture, and rotation. Paint 3D also lets you rotate the camera view around your object, allowing you to see your design from different angles and position elements more accurately.
Step-by-Step: How to Draw 3D Objects in Paint 3D
Draw 3D objects in Paint 3D becomes easy when you follow a simple step-by-step process. You start by opening the workspace, selecting 3D shapes, and adjusting the object’s size and position. In the steps below, you will learn exactly how to create and customize 3D objects using Paint 3D tools.
Step 1: Open Paint 3D
Start by opening Paint 3D from the Windows Start menu. When the app launches, click “New” to create a blank project. This blank canvas will be your workspace where you can start drawing or building your 3D object. If you want to edit an existing image instead, click “Open” and import your file.
Step 2: Select the 3D Shapes Tool
After opening your project, go to the top toolbar and click “3D Shapes.” This section includes built-in objects such as a cube, sphere, cylinder, cone, and pyramid. These shapes act as the base for most 3D designs. Simply select a shape and drag your mouse across the canvas to insert it.
Step 3: Resize and Position the 3D Object
When a shape appears on the canvas, control handles will show around it. These controls allow you to resize, move, and adjust the object easily. Drag the corners to make the shape bigger or smaller, and click-drag the object to move it anywhere on the canvas.
Step 4: Rotate the 3D Object
Paint 3D allows you to rotate objects in full three-dimensional space. When the shape is selected, circular rotation controls appear around it. Use these controls to spin the object and view it from different angles, which helps create a more realistic 3D look.
Step 5: Add Color and Texture
After positioning the object, you can customize its appearance. Select the object and open the Brushes or Stickers panel to apply colors, textures, or materials. Paint 3D also offers effects like metal, matte, or glossy finishes that make the object look more realistic.
Step 6: Use 3D Doodle for Custom Shapes
If you want more creative freedom, use the 3D Doodle tool. This feature lets you draw a freehand line that automatically turns into a 3D shape. It is useful for creating custom objects, abstract designs, and artistic elements that cannot be made with basic shapes.
Tips for Creating Better 3D Objects
Learning how to draw 3D objects in Paint 3D becomes much easier when you apply a few simple design techniques. One effective method is combining multiple shapes to create more detailed models. Instead of using only one object, try merging cubes, spheres, and cylinders together to build complex designs.
Another useful tip is experimenting with lighting effects and camera angles. Paint 3D allows you to rotate the scene and adjust lighting to create better shadows and highlights. These small adjustments can make your 3D objects look more realistic and visually appealing.
Common Mistakes Beginners Should Avoid
When starting with Paint 3D, beginners often make a few common mistakes that affect their designs. One mistake is using too many shapes without proper alignment. This can make the design look cluttered or unbalanced. Try to keep your layout simple and organized.
Another common issue is ignoring object rotation. Many users leave objects facing the default direction, which makes the design appear flat. Rotating shapes adds depth and realism. Finally, some users forget to adjust colors and textures. Plain objects without shading or material effects often look less realistic. Always experiment with different styles to improve your design.
Saving and Exporting Your 3D Design
After finishing your design, you will want to save or export your work.
Click on the Menu button in the top left corner of Paint 3D and select Save As. From here, you can choose different file formats depending on how you want to use your design.
Common formats include:
- PNG for images with transparency
- JPG for standard images
- 3D models for sharing 3D designs
Saving your project also allows you to reopen and edit it later if you want to make improvements.
Why Paint 3D Is Great for Beginners
Many professional 3D programs require extensive training and powerful computers. Paint 3D removes these barriers by offering an easy-to-learn environment where beginners can experiment freely.
The interface is simple, the tools are intuitive, and the results can be surprisingly impressive for such a lightweight program. Students, hobbyists, and casual designers can all benefit from learning this software.
By mastering basic tools such as 3D Shapes, 3D Doodle, rotation controls, and textures, users can quickly start building their own creative projects.
Final Thoughts
Learning how to draw 3D objects in Paint 3D is an excellent way to start exploring the world of digital design. With its beginner-friendly interface and built-in tools, Paint 3D allows anyone to create simple three-dimensional graphics without complicated software.
By following the steps in this guide, you can insert shapes, adjust their size, rotate them in space, and customize them with colors and materials. Over time, experimenting with different tools will help you create more detailed and creative designs.
Draw 3D Objects in Paint 3D does not have to be difficult. With practice and creativity, even beginners can produce impressive results using this simple yet powerful Windows application.
Frequently Asked Questions