How to Add Layers in Paint 3D (Beginner Guide)
Introduction
Many beginners who start using Paint 3D often get confused about how to add layers in paint 3d like professional design tools. Layers are commonly used in graphic editing programs to manage different parts of a design separately. When users try to create complex designs in Paint 3D, they often search for a way to add layers but cannot find a traditional layer panel.
Although Paint 3D does not include a traditional layers feature like advanced software such as Photoshop or GIMP, it still allows you to work with objects in a similar way. By using 3D shapes, text, stickers, and imported images, you can organize elements independently on the canvas. In this guide, you will learn how to add layers in paint 3d and create well-organized designs in Paint 3D.
Does Paint 3D Have Layers?
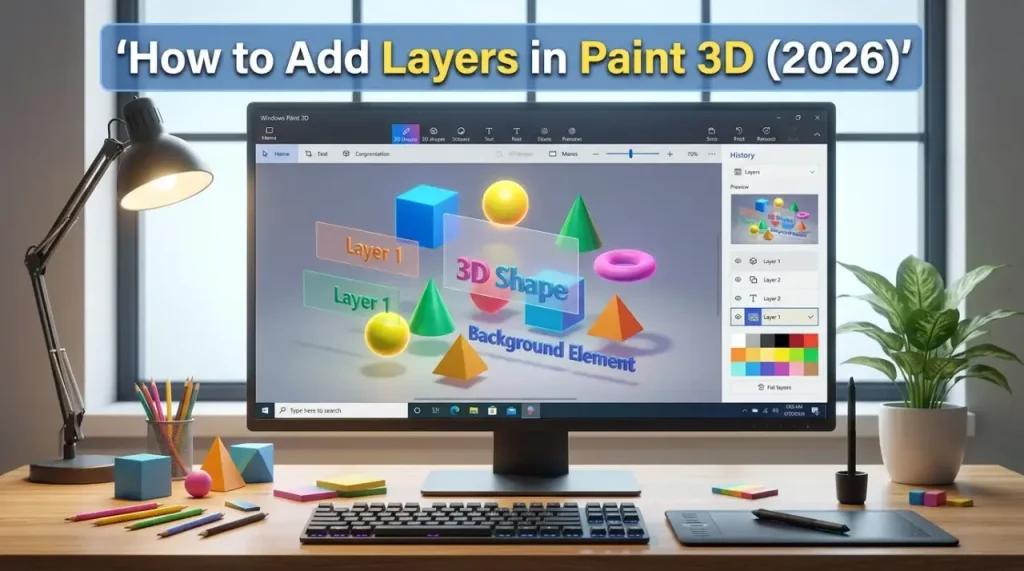
Unlike professional design software, Paint 3D does not include a traditional layer system. This means you will not find a separate layers panel where you can stack multiple layers. However, Paint 3D uses 3D objects, stickers, and elements that behave similarly to layers. Each object you insert can be moved, rotated, resized, and edited independently.
Because of this object-based system, you can still create complex designs by stacking and arranging multiple elements on the canvas.
Understanding Layer-Like Elements in Paint 3D
Paint 3D uses an object-based system instead of traditional layers. This means every element you add to the canvas becomes a separate editable object. You can move, resize, rotate, or modify these objects independently without affecting the rest of your design. This approach works similarly to layers and helps you organize different parts of your project easily.
Examples include:
- 3D shapes
- Text objects
- Stickers
- Imported images
- 3D doodles
These elements can be repositioned and modified without affecting other parts of your design.
Step-by-Step: How to Add Layers in Paint 3D Like Objects
Step 1: Open Paint 3D
Start by launching Paint 3D from the Windows Start menu on your computer. Once the application opens, click on “New” to create a blank canvas. This canvas will be your workspace where you can start designing and adding objects.
Step 2: Insert an Object
To add layers in Paint 3D, you need to add multiple objects to your canvas. Each object works independently and behaves similar to a separate layer in your design. You can insert different elements and arrange them to create a layered effect.
You can add objects using:
- 3D Shapes
- Stickers
- Text tool
- Import image option
Each new object you add can be moved, resized, or edited without affecting the other elements in your project.
Step 3: Move and Arrange Objects
Once objects are added to the canvas, you can move them freely to adjust your design layout. Simply click on the object and drag it to change its position. You can also place objects in front of or behind other elements, which helps create a layered effect and makes the design look more organized.
Step 4: Edit Each Object Separately
One of the advantages of Paint 3D is that objects remain editable even after you place them on the canvas. You can easily modify each object to improve your design without affecting other elements. This flexibility makes it easier to manage complex designs.
You can:
- Resize objects
- Rotate them
- Change colors
- Apply textures
Each object behaves independently, similar to layers in other design software.
Step 5: Lock the Canvas
To avoid accidentally moving the background while editing your design, you can keep the canvas fixed. Locking the canvas helps you focus on adjusting objects without disturbing the main background. This makes it easier to manage multiple elements and keep your design organized.
Tips for Managing Layers in Paint 3D
Even though Paint 3D does not have traditional layers, you can still organize designs effectively.
Use Separate Objects
Create your designs using multiple objects instead of drawing everything on a single canvas. This allows each element to be edited independently, simulating a layered workflow.
Arrange Objects Carefully
Position objects in front of or behind others to create a sense of depth. Careful arrangement helps simulate traditional layers and keeps your design organized.
Duplicate Elements
When you need repeated elements, duplicate objects instead of redrawing them. This saves time and maintains consistency across your design.
When to Use Layers in Paint 3D
Layer-like structures in Paint 3D are especially useful for projects like logo creation, social media graphics, simple illustrations, and product images. editing. Even basic 3D scenes benefit from separating objects into individual components, making editing easier and more precise.
- logo creation
- social media graphics
- simple illustrations
- product image editing
- basic 3D scenes
These projects benefit from separating objects into individual components.
Final Thoughts
Although Paint 3D layers are not traditional, the software’s object-based design system offers a simple alternative for managing multiple elements. By inserting separate objects and arranging them strategically, you can achieve effects similar to layered editing in other graphic software.
For beginners, working out how to add layers in Paint 3D makes creating 3D designs, illustrations, and graphics easier and more intuitive. With practice, you can build detailed 3D objects and scenes using Paint 3D’s flexible object tools, effectively simulating layers for professional-looking results.
Frequently Asked Questions