How to Remove the Background of Any Image Easily Using Paint 3D in Windows
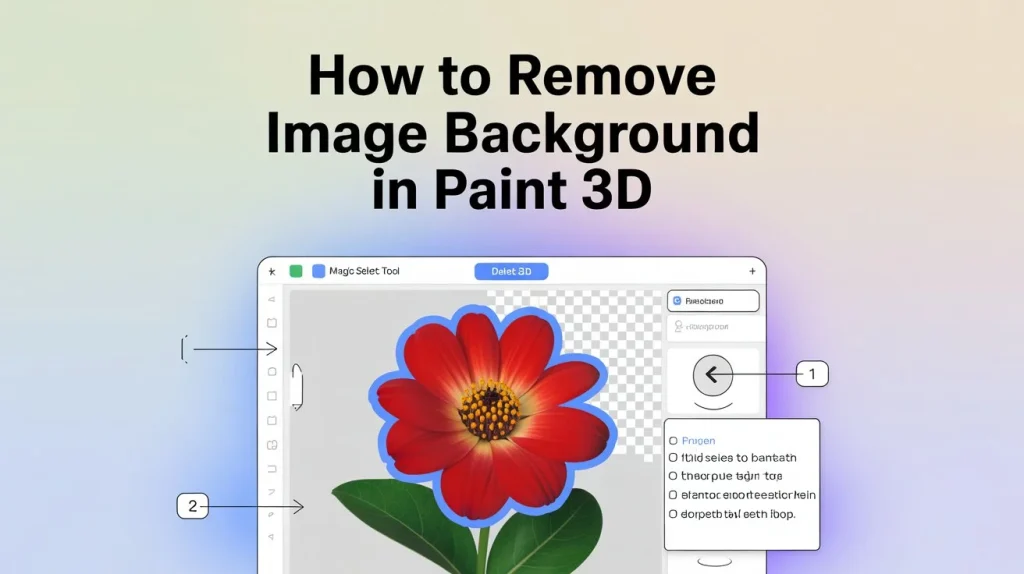
how to remove background of any image from an image is one of the most useful editing skills today. Whether you are creating thumbnails, product photos, school presentations, or social media content, a transparent background makes your design look clean and professional. Many people think they need expensive software like Adobe Photoshop, but that is not necessary.
If you are using Windows 10 or Windows 11, you already have a free and powerful tool installed on your computer called Paint 3D. This guide will teach you in a structured and simple way how to remove the background of any image using Paint 3D.
Introduction to Paint 3D
Paint 3D is a free, built-in Windows application that makes basic image editing and creative projects simple for everyone. It is easy to use, works offline, and does not require any subscriptions, making it ideal for beginners and casual users.
One of its most powerful features is Magic Select, which allows you to precisely remove background in Paint from any image. With this tool, you can separate your subject from the background and refine the edges manually, creating clean, professional, and transparent images for social media, presentations, or ecommerce projects.
Why Background Removal Is Important?
how to remove background of any image Paint 3D is important for creating clean and professional images. It helps make transparent PNGs for logos, thumbnails, and graphics. Online sellers use it for polished product photos that stand out. Students and educators can use it for presentations and projects. A transparent background ensures the main subject is clear and visually appealing.
how to remove background of any image using paint
how to remove background of any image in Paint 3D, first open the app and insert your image onto the canvas. Use Magic Select to outline your main object, then refine the selection with the Add and Remove tools for precise edges. Delete the remaining background and enable Transparent Canvas so your subject stands out on a clear background. Finally, save the image as a PNG to preserve transparency, ensuring a professional, clean result. How remove background using paint 3d guidance step by step.
Step 1: Open Paint 3D and Insert Your Image
Start by clicking the Windows search bar and typing Paint 3D. Open the application. Once it launches, click Open and then choose Browse files. Select the image you want to edit and click Open. Your picture will now appear on the canvas.
Step 2: Select the Main Object Using Magic Select
At the top menu, click on Magic Select. A selection box will appear around your image. Adjust the corners of the box so it fits tightly around the object you want to keep. Try to avoid including too much background inside the box. After adjusting it properly, click Next.
Step 3: Refine the Selection
Paint 3D will automatically detect your subject. However, the selection may not be perfect. On the right side, you will see two tools called Add and Remove. Use Add to include missing parts of your object. Use Remove to erase unwanted background areas.
Zoom in while refining small details like hair, hands, or edges. Take your time during this process because careful editing produces better results. Once you are satisfied with the selection, click Done.
Step 4: Delete the Background
After clicking Done, your selected object becomes movable. Drag it slightly to the side. Now click Select from the top menu. Highlight the remaining background and press the Delete key on your keyboard. The background will disappear. Move your subject back to the center of the canvas.
Step 5: Enable Transparent Canvas
To make the background truly transparent, click on Canvas from the top menu. On the right panel, turn on Transparent Canvas. You will see a gray and white checkered pattern behind your image. This pattern indicates transparency.
Step 6: Save the Image Correctly
Click on Menu and select Save as. Choose “Image” and then select “PNG” as the file format. Make sure transparency is enabled before saving. PNG format supports transparent backgrounds. If you save as JPEG, the background will turn white because JPEG does not support transparency.
Video of how to remove background of any image
Understanding PNG and JPEG Formats
By understanding the strengths of each tool, you can save time and ensure professional results. Paint 3D remains unmatched for precise, manual editing, while AI tools are perfect for speed and convenience. Combining both approaches can give you the best of both worlds: speed and precision.
PNG Format for Transparent Backgrounds
PNG is the best format for images with transparency. When you remove background in Paint 3D, always save your file as PNG to keep the background clear and invisible. PNG maintains sharp edges, high quality details, and supports transparent layers without losing clarity. The only drawback is that PNG files are usually larger in size compared to JPEG.
Best use cases for PNG format:
- Logos and brand graphics
- YouTube thumbnails and banners
- Product images for ecommerce
- Images containing text or design elements
- Any image that requires a transparent background
If your goal is to create a clean PNG with no background, this format is the correct and professional choice.
JPEG Format for Standard Images
JPEG is designed for regular photographs and smaller file sizes. It compresses images to reduce storage space, which makes it ideal for websites and social media uploads. However, JPEG does not support transparency. If you save a transparent image as JPEG, the background will automatically appear white.
Best use cases for JPEG format:
- Normal photographs
- Blog images without transparency
- Social media photos
- Images where background removal is not needed
Final Recommendation
If you are working on background removal in Paint 3D and need a transparent image, always choose PNG format. JPEG is only suitable when transparency is not required. Selecting the right format ensures your edited images remain clean, professional, and ready to use anywhere.
Tips for Cleaner Results
Use high-resolution images for better edge detection. Choose photos where the subject color contrasts with the background. Zoom in while refining small areas. Avoid extremely busy backgrounds when possible. Be patient during the editing process to achieve smooth edges.
Alternative Tools You Can Try
Some users prefer automatic tools such as Remove.bg or design platforms like Canva. Windows 11 also offers an updated version of Microsoft Paint with a quick background removal feature. However, Paint 3D provides better manual control and works completely offline without limitations.
Windows 11 Paint (One-Click Background Removal)
The updated version of Microsoft Paint in Windows 11 includes a quick background removal feature. With just one click, you can remove the background from your image without any manual selection. This is perfect for users who want a fast and simple solution. However, it offers less precision compared to Paint 3D, so small details may need extra refinement.
Free AI-Powered Background Removers
AI background removal tools are excellent for speed and automation. These tools analyze your image and separate the subject from the background almost instantly. Some popular free options include:
- Remove.bg: is highly accurate and widely used for professional results.
- PhotoRoom: Great for product photography and e-commerce images.
- Pixelcut: User-friendly and ideal for social media graphics.
- Canva offers a built-in background remover within its design platform.
With AI tools, you just upload your image, let the software process it, and download the transparent version. These tools are ideal when you need to remove backgrounds for multiple images quickly or don’t want to spend time on detailed manual editing.
Choosing the Right Tool for Your Project
For background removal in Paint 3D, PNG format is the best choice as it supports transparency and preserves image quality. It is perfect for logos, thumbnails, graphics, and product photos. JPEG works for regular images and smaller files but cannot keep transparent backgrounds. Always use PNG when creating images with a clear, professional background.
- Use Paint 3D if you need full manual control to refine edges, fix mistakes, or create highly detailed transparent images. It’s best for images with complex shapes or hair details.
- Use AI Tools for fast results, bulk editing, or simple images with clear separation between the subject and background.
Conclusion
Learning how to remove background in Paint 3D Windows 10/11 is simple, free, and requires no professional editing skills. By following the proper steps and carefully refining your selection, you can create clean, transparent images in just a few minutes. This method works for photos, graphics, and product images, making it perfect for social media, presentations, or ecommerce projects.
With regular practice, you will gain confidence in using Paint 3D to remove background from any image quickly and accurately. This guide proves that you don’t need expensive software to achieve professional results Paint 3D is a powerful, accessible tool for beginners and experienced users alike.
Frequently Asked Questions (FAQs)!!